Removing glue and resin from gold can feel like a daunting task. Yet, it’s an essential skill for anyone who loves jewelry or works with gold-based crafts. Whether it’s a piece of heirloom jewelry or a recent creation, it’s important to maintain the quality and beauty of your gold. Thankfully, with the right tools and knowledge, you can restore your gold items to their former glory without much hassle.
To remove glue and resin off gold, you will need to use gentle solvents and tools that won’t damage the gold. Always test a small area first and avoid harsh chemicals that can lead to nicks or tarnishing. Clean the gold thoroughly afterward to ensure it looks shiny and new. The right methods can help preserve the gold’s integrity while effectively removing unwanted substances.
In this guide, we will explore the nature of glue and resin and why it’s important to remove them from gold items. We will dive into the necessary safety precautions to consider before starting the cleaning process. Following that, we’ll outline the tools and materials you’ll need to make the job easier. Finally, we will provide a detailed, step-by-step approach for the actual removal of glue and resin, so you can tackle this task with confidence.
Understanding the Challenge
Glue and resin might seem like minor inconveniences, but they can cause significant issues for your gold items. Glue is typically a synthetic compound used to bond items together. It comes in various forms, such as super glue, craft glue, and epoxy. On the other hand, resin is a more complex substance often used for casting and finishing surfaces. It typically contains chemicals that can stick harder and be more challenging to remove.
Both substances are commonly used in arts and crafts, repairs, or even during projects that involve gold. Knowing what you’re dealing with makes it easier to choose the right removal method. Component materials can interact differently with gold, potentially leading to damage if not handled properly.
It’s also worth noting that glue and resin are not just messy; they can dull the beautiful shine of gold if not cleaned up promptly. You may find it accumulates more dirt and dust, which further tarnishes gold’s natural luster. Hence, understanding the differences can help you make informed decisions during the cleaning process.
Why Removing Glue and Resin from Gold is Necessary
With jewelry and decorative pieces, aesthetics are crucial. Gold, by its very nature, is a symbol of elegance and timelessness. Any adhesives or finishing materials can detract from that beauty. Accumulated substances can obscure intricate designs and details, turning a prized item into something less appealing.
Moreover, glue and resin can cause long-term damage if left unattended. They can dry out and harden, making removal increasingly difficult and potentially leading to scratching. The longer they remain, the more they can compromise your gold items’ surface integrity. When you invest in gold, whether for personal enjoyment or as an investment, you are also committing to its care and maintenance.
Aside from appearance, there can be financial repercussions if you neglect to clean your gold items. Accumulated residue can lead to irreparable damage, which decreases the item’s market value. Taking proactive steps to remove glue and resin not only preserves the luster but also helps in retaining the item’s worth.
Safety Precautions Before Starting the Removal Process
When handling substances like glue and resin, safety should be your top priority. Always wear personal protective equipment (PPE), such as gloves, goggles, and a mask, especially if you are using solvents that emit strong fumes. It’s crucial to protect your skin and ensure you are not inhaling any harmful chemicals. Ensure the area you are working in is well-ventilated.
Next, it’s important to ensure a clean and organized workspace. Clear off any clutter that can be knocked over or contaminated with glue or resin. Lay down a protective covering such as newspaper or a cloth, which can catch drips or spills, but still allows you easy access to your materials.
Additionally, have a first-aid kit nearby, just in case. Accidents can happen, and it’s always better to be prepared. Careful planning and execution of safety measures will help make the process smoother and more enjoyable. If you’re unsure about any step, it’s better to stop and consult someone knowledgeable than to risk injury or damage to your gold piece.
Stay focused and patient during the cleaning process. Rushing through could lead to mistakes that can damage your gold piece. Trust that taking the time to prepare will pay off in the long run, yielding better results and protecting your investment.
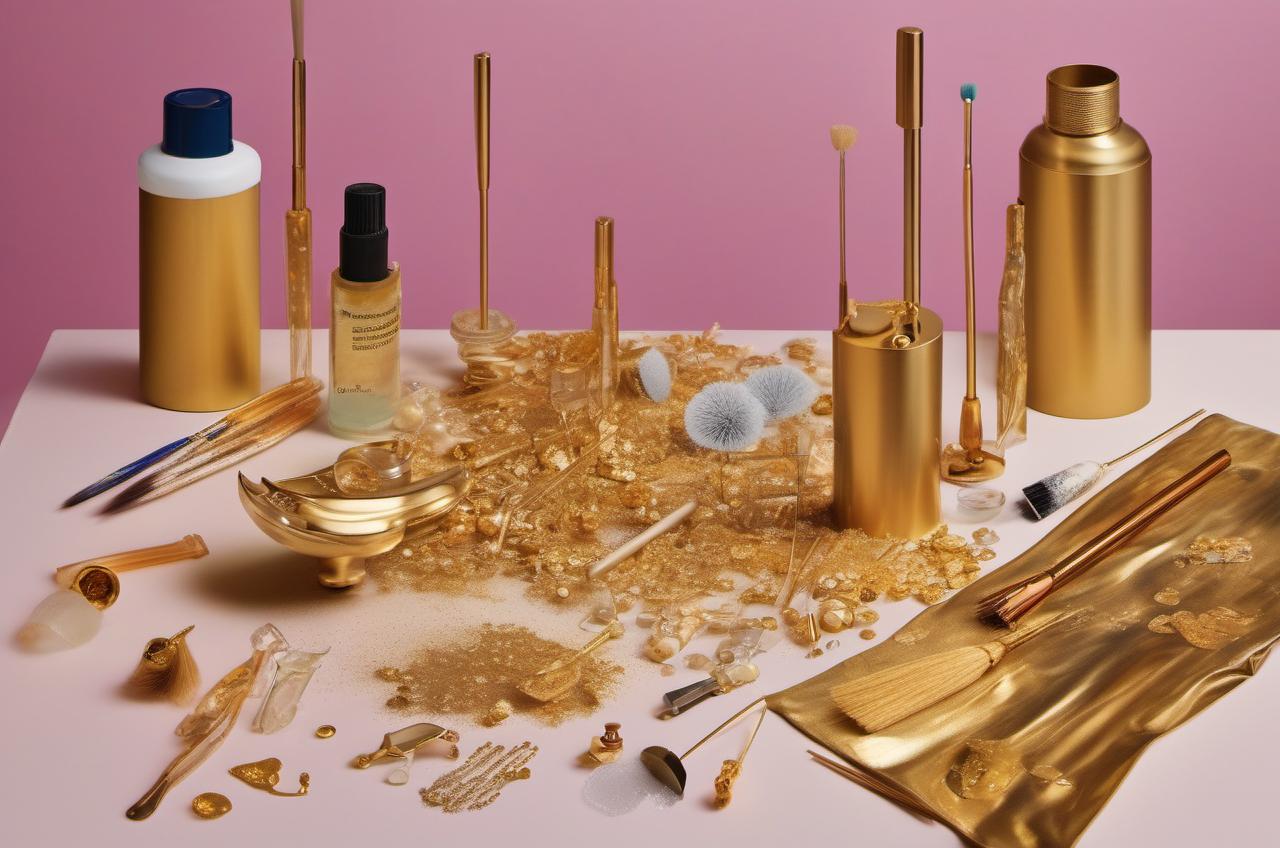
Essential Tools for the Job
Before you dive into the removal process, having the right tools can significantly improve your experience. First and foremost, a set of tweezers is essential. These allow you to handle small pieces without applying excess pressure. They also help you pick off dried glue or resin without causing damage to the gold surface.
A small, soft brush is another useful tool. Choose a gentle bristle brush to avoid scratching gold. It can help you dust off any loose remnants or particles that may have accumulated on the surface. An old toothbrush can also do the trick. Just ensure that it’s clean and not too abrasive.
In addition to these tools, having soft cloths on hand is vital for cleaning and polishing your gold pieces. Microfiber cloths are particularly great for this purpose, as they won’t leave lint or scratches. Make sure you have several on hand, as they can become saturated with cleaning solution during the process.
Finally, consider a magnifying glass or loupe. It may seem minor, but this tool can help you inspect the area closely. This way, you can identify any stubborn spots that may need extra attention. A good inspection ensures you won’t miss any hidden bits of glue or resin that need to be tackled.
Having all these tools ready will make the process more efficient. They will also make your cleaning experience smoother and help you achieve better results. Without the right tools, you risk damaging your precious gold items or leaving behind residue. So gather your resources and ensure that you are well prepared before starting the removal process.
Solutions and Products to Use
Now that you have your tools, it’s time to explore the solutions and products you’ll need for removing glue and resin from gold. A popular choice is rubbing alcohol. It’s gentle enough not to harm gold while effectively dissolving many types of adhesives. You can soak a cotton ball or soft cloth with rubbing alcohol and gently rub it over the affected areas.
Acetone is another solvent commonly used, particularly for strong adhesives like super glue. However, it should be used with caution. While acetone works wonders, it can potentially strip the finish of your gold if left on too long or used improperly. Always test it on a small area first and see how the gold reacts.
If you prefer natural alternatives, vinegar is a fantastic option. It’s effective in softening glue and resin without harsh chemicals. You can soak a cloth with vinegar and lay it on the sticky area for a few minutes before gently scraping away the residue. However, make sure to wash the item thoroughly afterward to avoid lingering acidity.
Olive oil can also work well for natural cleaning. It’s particularly useful for removing sticky residues without damaging gold. Simply apply a small amount to the area, let it sit, then wipe it away with a soft cloth. This method can also help nourish the gold, keeping it looking fresh.
Lastly, look for commercial jewelry cleaners that specify they’re safe for gold. Many of these products have formulations designed to handle residue without damaging the metal. Regardless of the solution you choose, always read labels and ensure safety and compatibility with gold before application.
Preparing the Gold Piece for Cleaning
Preparation is key when removing glue and resin from gold. First, take the time to inspect your gold piece thoroughly. Look for areas that are particularly affected by glue or resin. You might want to take pictures before you begin. This will help you keep track of your progress and ensure you don’t overlook any stuck spots.
Next, it’s crucial to clean any loose dirt or dust off the surface before applying any solvents. Use your soft brush or microfiber cloth to gently wipe away any debris. Avoid pressing too hard. The goal is to remove loose particles without adding more scratches to the surface. This step is vital as it allows the cleaning solution to work more effectively.
Before applying your chosen solvent, consider testing it in an inconspicuous area first. This step is especially important with stronger solvents like acetone. Dab a small amount on a hidden part of the item and wait to see how it reacts. If the gold is unaffected, you can proceed to the areas with glue or resin.
When you are ready to begin, gather all your tools and solutions close at hand. It will save you time and prevent you from needing to pause midway. Lay your protective covering down if you haven’t already. It will catch any spills, and you won’t have to worry about damaging your workspace.
Finally, ensure that you’re in a well-ventilated area. If using strong solvents, this is especially critical. Strong fumes can build up quickly, and proper airflow will keep you safe. After this preparation, you’ll be set to start the actual removal of glue and resin from your beloved gold items.
Techniques for Removing Glue and Resin
Now that your gold piece is ready, let’s look at techniques for removing glue and resin safely and effectively. Start by selecting your solvent based on the adhesive type. For light glue residue, soaking a soft cloth with rubbing alcohol is often sufficient. Lightly dab the area, allowing the solvent to penetrate the adhesive. After a few minutes, try gently scraping the adhesive away with your tweezers or a plastic scraper.
For tougher glues or resin, you may want to resort to acetone. Soak a cotton ball with acetone and apply it to the affected area. Let it sit briefly, around 30 seconds to a minute. This waiting period helps dissolve strong adhesives. Gently wipe with a soft cloth after soaking. Be cautious and avoid vigorous rubbing, as this may harm the gold.
Natural solutions like vinegar and olive oil call for a similar approach. With vinegar, allow the cloth soaked in vinegar to sit on the residue a bit longer, about 5-10 minutes. Then, you can gently wipe it away. Olive oil may require a bit of patience too, but its nourishing effect can also be a bonus for your gold.
For more stubborn spots, you might make use of your gentle brush. Once you’ve applied your solvent, use the brush to softly agitate the area. Be very gentle, as scrubbing too hard can scratch or dull the surface of the gold.
After you’ve removed most of the glue and resin, it’s essential to clean the area thoroughly. Use warm water and mild soap to wash away any remnants of the cleaning solutions. Rinse well, ensuring you’re left with a clean surface. Pat dry with a soft cloth, and avoid any rubbing. This way, you can keep your gold looking brilliant and new.
Post-Removal Care for Gold Items
After removing glue and resin from your gold items, it’s time to focus on post-removal care. The goal is to restore the golden shine and ensure continued protection. First, give your piece a gentle wash with warm, soapy water. Use a mild dish soap for an effective yet gentle solution. This wash will help lift any lingering residues. A soft brush can help further clean those intricate designs.
Once washed, rinse your gold piece under lukewarm water. Ensure that every soap bubble is washed away. Leftover soap can dull the shine of your gold, diminishing its natural brilliance. After rinsing, use a soft, absorbent cloth to pat your item dry. Avoid rubbing, as that can scratch the surface.
Next, consider polishing your gold. A high-quality, gold-specific polish will enhance its shine. Use a small amount with a soft cloth, applying it in a gentle circular motion. Follow the manufacturer’s instructions, as some products work better for specific gold finishes.
It’s also important to consider how you store your gold items after cleaning. Keep them in a soft pouch or a lined jewelry box. This will minimize potential scratches and environmental exposure. Avoid storing them together, as pieces can rub against each other and lead to scratches or tarnishing.
Finally, regular maintenance is important for preserving your gold’s beauty. Clean your gold items periodically, especially after exposure to adhesive materials. By making cleaning a regular practice, you’ll prolong the life of your precious pieces and keep them looking their best for years to come.
Introduction to Glue and Resin
As mentioned earlier, glue and resin commonly overlap in arts and crafts, but they serve different purposes. Glue, typically a synthetic adhesive, helps bond materials together. It can be water-soluble or super-strong, designed for quick and lasting attachment. On the other hand, resin is used for casting and creating durable surfaces. It’s often found in art projects for coating tables or encapsulating objects, providing a glossy finish.
The versatility of glue and resin is remarkable, and they often end up on gold jewelry or craft items. When crafting, sometimes their placement isn’t precise, causing unsightly blobs on your favorite pieces. Naturally, this can lead to frustration. It’s crucial to identify the type of adhesive you’re dealing with, as each has its own removal method.
Gold items—be it jewelry, decorative pieces, or craft creations—can retain their value and beauty when properly cared for. Understanding how glue and resin bond to surfaces can aid in selecting effective cleaning methods. For instance, water-soluble glues dissolve easily in warm soapy water while stronger adhesives require harsher solvents.
Adhesive residues, if left unattended, can lead to a dull appearance. This not only affects aesthetics but can also diminish the item’s value over time. Knowing how to clean glue and resin effectively will help you restore and maintain your gold items.
The Importance of Regular Cleaning
Cleaning your gold items regularly is about much more than just appearance. Frequent maintenance ensures that glue or resin doesn’t become a long-term issue. Gold items, especially jewelry, are often exposed to various substances throughout their daily wear. Makeup, lotions, oils, and dirt can build up, making adhesive residues harder to remove.
Gold is prone to tarnishing if not cared for properly. Part of this care involves regular dusting and gentle washing. A quick wash every few weeks can remove any grime that may get trapped near glue or resin spots. Once you introduce such residue, dirt can accumulate, creating an unsightly mess.
Moreover, maintaining your gold items helps identify potential issues early. If you find glue or resin, addressing it immediately makes for a simpler cleaning routine. The longer you wait, the tougher it becomes, which could require harsher cleaning methods—potentially compromising the gold’s integrity.
Additionally, regular cleaning contributes to the longevity of your gold collection. With proper care, the allure and shine of your items can last for generations. As a result, you maintain not only their visual appeal but also their value in case you ever decide to sell or pass them down.
Special Considerations for Different Gold Finishes
Gold comes in different finishes. While cleaning every type would seem similar, each finish may require specific handling. For instance, high-polish gold has a shiny, reflective surface. This glossy finish can be scratched easily, making gentle cleaning methods vital. Avoid vigorous scrubbing and harsh chemicals when cleaning high-polish items.
Satin-finished gold has a matte texture that may hide scratches better than polished finishes. However, dirt and residue can become embedded in the surface. Use a gentle brushing technique to lift the grime. Consider using polishing cloths designed specifically for satin finishes, ensuring you maintain a consistent look.
Some gold items may have additional layers, like gemstones or pearls. These accents require extra care. When cleaning such items, ensure that no cleaning solutions touch any non-gold components. When in doubt, remove the gemstones before cleaning the gold base, ensuring they don’t get damaged in the process.
If you have gold-plated items, caution is crucial. Gold plating has a thinner layer than solid gold, making it more prone to wear and damage. Use only the gentlest of cleaning methods, focusing on using a soft cloth to wipe down surfaces without harsh chemicals that could strip the plating away.
Final Thoughts on Maintaining Gold Items
Maintaining your gold items doesn’t end after cleaning away glue and resin. Careful attention should be given to handling and storing your gold to prevent future issues. When wearing jewelry, try to avoid contact with lotions, perfumes, or cleaning agents. Such substances can cause residue buildup over time.
Additionally, consider removing gold jewelry while engaging in activities that may result in exposure to harsh materials. For example, tasks such as washing dishes, exercising, or working with arts and crafts can increase the risk of glue or dirt contact. These precautions will help keep your jewelry safe.
Storage plays a significant role in preserving your gold. When placing gold items in a jewelry box, ensure they are separated. Use soft pouches or dividers to prevent scratching and ensure cleanliness. Keeping excess dust at bay is important, too, so consider closing compartments when not in use.
Given the investment associated with gold, it’s worth putting in the effort to protect it. Regular cleaning and thoughtful handling will ensure that your pieces remain not only beautiful but timeless treasures that can be cherished for many years to come. Following these best practices will ensure that your gold retains its enchanting allure while serving you well throughout the years.
FAQs
How can I tell if my adhesive is glue or resin?
To determine whether an adhesive is glue or resin, consider its application and texture. Glue is typically used for bonding materials and is often water-soluble. It may feel sticky and can usually be removed with soap and water. Resin, on the other hand, is thicker, often used for casting or coating. It generally cures to a hard finish and often requires stronger solvents for removal.
Will using acetone damage my gold?
Acetone can be harsh on gold, especially if used improperly or left on too long. It may dull the surface and strip finishes. Always perform a patch test on a small, hidden area before application. If the test spot remains unaffected, you can use it cautiously on the residue, but be careful to rinse thoroughly afterward.
Is it safe to use vinegar on gold?
Yes, vinegar is generally safe for cleaning gold. It can effectively dissolve glue and resin without harming the metal. However, make sure to rinse the item thoroughly after use to remove any residual acidity, as prolonged contact with any acid can lead to tarnishing or dullness over time.
How often should I clean my gold items?
Cleaning frequency depends on usage. For daily-worn jewelry, a quick clean every few weeks is recommended. If you frequently use your items in crafting or around adhesives, check them more often. For items stored away, a thorough cleaning before wearing them again is advisable. Regular maintenance promotes longevity and shine.
Can I use regular soap to clean my gold jewelry?
Yes, a mild dish soap mixed with water is effective for cleaning gold jewelry. Avoid harsh soaps, as they can contain chemicals that may dull the surface. Use a soft brush to gently scrub areas with stubborn grime. Always rinse thoroughly to eliminate soap residue, then pat dry with a soft cloth for best results.
What should I do if the glue or resin is stubborn and won’t come off?
If the adhesive is particularly stubborn, try applying your chosen solvent (like rubbing alcohol or acetone) and let it sit a bit longer. This will give the solvent more time to penetrate and dissolve the resin or glue. If that still doesn’t work, gently scraping with a plastic scraper at that point is advisable. Always follow with a thorough clean to ensure no residues are left behind.